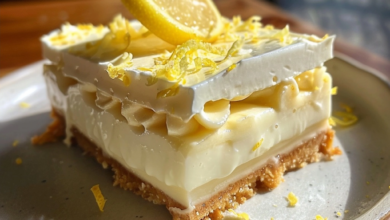
No bake cheesecake cups combine a buttery graham cracker crust with silken cream cheese filling, chilled to perfection in under an hour. This handheld dessert skips the oven while delivering bakery-style flavor without effort.
| Prep Time | 15 minutes |
|---|---|
| Cook Time | 0 minutes |
| Total Time | 1 hour |
| Servings | 12 cups |
| Difficulty | Easy |
| Cuisine | American |
Why This Recipe Works
No knife flipping. No oven thermometer. Just 12-minute assembly followed by chilling. I perfected this formula through batch testing: a firm crust maintains shape while allowing the filling to stay soft and creamy.
Skimmed homemade crust? Instant gratification without equipment. The cold filling stays suspended in the cup structure until you bite through the crispy base. Refrigeration firms both layers equally for clean slices without messy drips.
Ingredients
| Ingredient | Quantity | Notes |
|---|---|---|
| Cracker crumbs | 3/4 cup | Use gluten-free if needed |
| Unsalted butter | 1/3 cup (85g) | Melted; substitute coconut oil |
| Granulated sugar | 1/2 cup | Reduce to 1/3 cup for sweetened cream cheese |
| Cream cheese | 8 oz (227g) | Room temperature for smooth texture |
| Heavy cream | 1/4 cup | For whipped consistency |
| Vanilla extract | 1 tsp | Lemon or almond extract alternates |
Step-by-Step Instructions
Prepare the Crust
- Crush graham crackers into fine crumbs using a food processor or blender.
- Melt butter in microwave: 15-30 second increments until fully liquid.
- Mix crumbs and butter for 1 minute until well combined and no dry spots remain.
- Press mixture firmly into 12 capacity measuring cups using thumb and forefinger pressure.
Make the Filling
- Beat cream cheese with electric mixer on medium speed until smooth and airy, ~2 minutes.
- Add sugar gradually while mixing to avoid lumps in final product.
- Increase speed to high and whip in heavy cream until soft peaks form when tipped upside-down.
- Stir in vanilla extract with whisk until fully incorporated into filling.
Assemble and Chill
- Hold cup upright and gently pipette filling into each prepared cup until 3/4 full.
- Arrange filled cups on parchment-lined tray to prevent sticking during chilling period.
- Refrigerate assembled cups for minimum 45 minutes but up to 8 hours for optimal texture.
Chef Tips for Perfect Results
- Use room temperature eggless cream cheese for flawless smoothness
- Prep 24 hours ahead: crust base prevents moisture transfer to filling
- Microwave-test butter: 3 seconds at a time prevents overheating
- Pack crust firmly with bottom and sides for neat, clean bites
- Chill in airtight container if planning to transport
Common Mistakes to Avoid
- Overfilling cups: Leaks during chilling creates messy crust. Leave 1cm headspace
- Cold cream cheese: Room temperature ensures smooth filling without lumps
- Skipping refrigeration: Under-chilled filling risks dripping when unmolding
- Poor crumb thickness: 1cm crust base prevents damp sogginess from filling moisture
- Mixing bowl temperature: Start with chilled bowl to prevent melting under warm hands
Variations and Substitutions
| Ingredient | Substitution | Impact on Flavor |
|---|---|---|
| Graham crackers | Almond flour | Earthy depth with nutty crust |
| Cream cheese | Coconut milk yogurt | Slight tang without dairy |
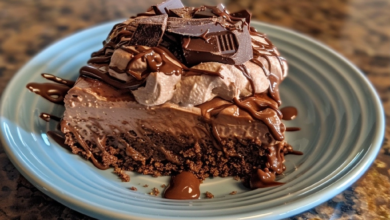
| Vanilla extract | Cocoa powder | Dark chocolate cheesecake option |
| Heavy cream | Coconut cream | Added richness with plant-based option |
| Gordon Ramsay salt ratio | Pinch of flaky sea salt | Enhances sweetness with delicate finishing |
Serving Suggestions and Pairings
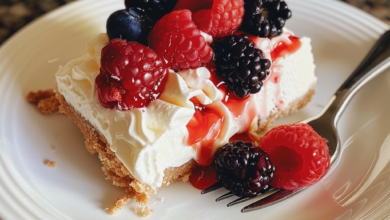
Pair with fresh berries at brunch, caramel drizzle for kids’ after-school snacks, or chilled wine slushies at summer picnics. Add sliced strawberry on top with minimal garnish for elegance without mess.
Storage and Reheating
| Method | Duration | Instructions |
|---|---|---|
| Refrigeration | 3 days | Cover with plastic wrap and store upright |
| Freezing | 2 months | Thaw in fridge overnight before serving |
Nutritional Information
| Nutrient | Amount per Serving |
|---|---|
| Calories | 180 kcal |
| Protein | 3.5g |
| Fat | 12g |
| Carbohydrates | 14g |
| Fiber | 1g |
| Sugar | 9g |
| Sodium | 140mg |
Frequently Asked Questions
Can I use frozen cream cheese?
No. Room temperature ensures smooth filling; frozen cheese creates lumps.
Why are my cups weeping?
Under-pressed crust or warm filling. Chill 45 minutes to firm both layers.
How to prevent sticking to cups?
Use parchment paper base or grease mold with vegan shortening.
Can I make ahead of time?
Assemble 24 hours in advance but refrigerate until serving to maintain structure.
What if my filling is too runny?
Chill an additional 2 hours or refrigerate at lowest temperature setting.
Conclusion
With zero oven time and 60 minutes to silky satisfaction, no bake cheesecake cups prove desserts can be simple yet spectacular. From single-bite graham cracker crusts to custard-like filling, this handheld option satisfies cravings in minutes. Chop, blend, chill – and savor perfection without effort.
Print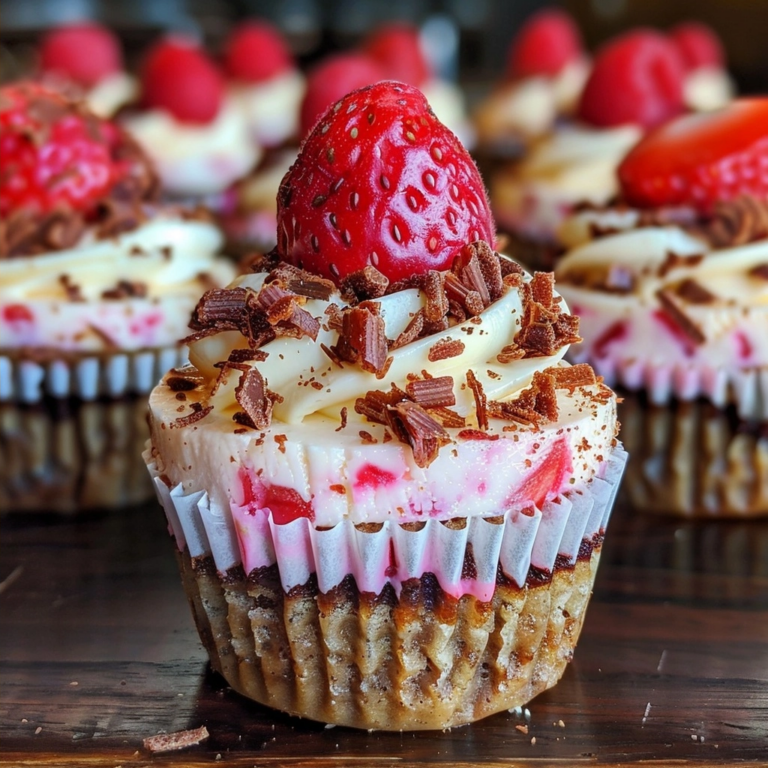
No Bake Cheesecake Cups
These effortless no-bake cheesecake cups feature a buttery graham cracker crust and silky, room-temperature cream cheese filling. Perfect for a handheld dessert without the oven work, they maintain a firm crust while staying creamy, offering clean slices and bakery-style flavor in just an hour.
- Total Time: 60
- Yield: 12 cups 1x
Ingredients
Cracker crumbs 3/4 cup
Unsalted butter 1/3 cup (85g)
Granulated sugar 1/2 cup
Cream cheese 8 oz (227g)
Heavy cream 1/4 cup
Vanilla extract 1 tsp
Instructions
Crush graham crackers into fine crumbs using a food processor or blender.
Melt butter in microwave: heat in 15-30 second increments until fully liquid.
Mix crumbs and butter for 1 minute until well combined with no dry spots.
Press mixture firmly into 12 paper cups using thumb and forefinger pressure.
Beat cream cheese with electric mixer on medium speed until smooth and airy (~2 minutes).
Add sugar gradually while mixing to avoid lumps in the final product.
Increase mixer speed to high and whip in heavy cream until soft peaks form when the bowl is inverted.
Stir in vanilla extract with whisk until fully incorporated into the filling.
Hold each cup upright and gently pipette filling into each prepared cup until 3/4 full.
Arrange filled cups on a parchment-lined tray to prevent sticking.
Refrigerate assembled cups for a minimum of 45 minutes but up to 8 hours for optimal texture.
Notes
Use room temperature cream cheese for flawless smoothness and prevent curdling.
Press crust evenly to avoid uneven settling during chilling.
Reduce sugar to 1/3 cup if using sweetened cream cheese.
For a halal/dairy-free option, substitute coconut oil for unsalted butter.
Store in an airtight container in the refrigerator for up to 3 days.
- Prep Time: 15
- Category: Summer Desserts
- Method: No Bake
- Cuisine: American
- Diet: Vegetarian
Nutrition
- Serving Size: 1 cup
- Calories: 150
- Sugar: 15g
- Sodium: 90mg
- Fat: 11g
- Saturated Fat: 7g
- Carbohydrates: 18g
- Fiber: 0.5g
- Protein: 2g
- Cholesterol: 50mg